Pinwheel:
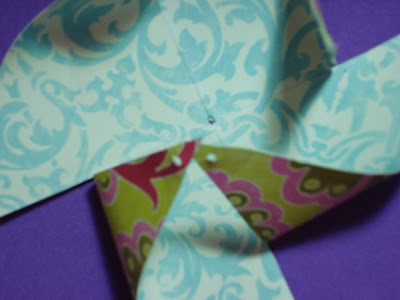
Begin with a square of double-sided patterned paper. The measurement from corner to corner will be the finished size of your pinwheel.

With a pencil, draw a line from corner to corner.

Cut along each of the lines, a little more than halfway to the center. Erase the lines if needed. Pierce a hole through the center of the square and through every other point around the outside.

Bend the pierced corners to the center without creasing the paper.
Line up the holes and fasten a brad through to hold the paper in place.

You can add a dimensional sticker or another fun embellishment to the center of your finished pinwheel but my brad was big enough that I liked the finished product as it is.

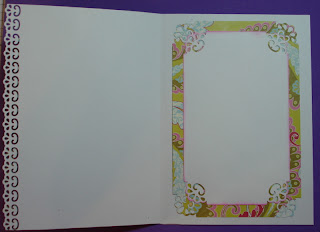
This is my card. One more September birthday done. You can use George and Basic Shapes to cut all the cuts for this card. They're basically all rectangles cut to various sizes, punched with Scroll Lace Martha Stewart punch, and layered on a base. The inside message area is inked with Hot Pink ink.


Thanks for visiting our blog. Donna and I love your comments. Thanks to all our followers. You make this blog worthwhile. We feel as though you are our friends. God Bless you. Peggy

Love it Love it Love it!!!! What a beautiful card! I think each one just gets better and better. Thanks so much for sharing your talents!
ReplyDeleteMost Sincerely,
Bobby & Jill
http://cricutcouple.blogspot.com
Oooh, that's so pretty. You did a great job on the pinwheel, and I love the inside frame.
ReplyDeleteThank you for these instructions. I was looking at some crafts yesterday with pinwheels and was trying to figure out a good way to make them. Beautiful Card!
ReplyDeleteThis is so pretty.All your elements came together so well.A beautiful card.
ReplyDelete