As I said yesterday, I have the instructions for the Holiday Paper Bowl. Of course, it could be used for other occasions depending on the paper you use.
First. get a 12"X12" double sided piece of cardstock. Here is the one I'm using today.
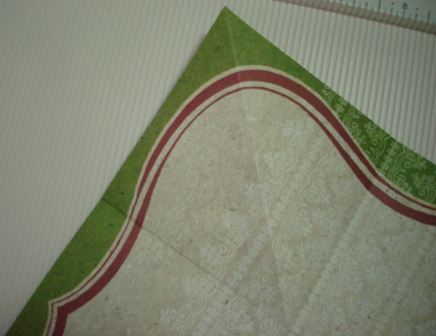
Next score at 4" and 8" along one edge of the paper. Turn, score at 4" and 8" again. Fold along all scored lines.
Next, score diagonally in each corner. Fold corners in.
Next set eyelets in each corner.
Run ribbon through eyelets to hold bowl together. I would have used a jump ring but I didn't have any.
Make a bow for the top and decorate. I cut out some elements to go on my bowl but they got lost when I put them on the paper. So it looked better without them.
Thanks for stopping by. I'm sure a lot of you know how to make these already. I didn't so I thought I would share them with those of you who don't. God Bless You!!! Peggy
Welcome again to our little space in the blogging world. I thought today I would show you how to make a box card. I like doing different variations of cards and this one is not hard. You can find the original tutorial on Splitcoast Stampers. Beate Johns posted the original. I would suggest practicing on a piece of printer paper before you try it on your pretty patterned paper. This is the finished product. This card is for the Cricut Circle Blog Weekly Challenge and several others.
Supplies you will need.
8 1/2" X 11 piece of patterned paper - the thinner your paper the easier the folding.
Scoring board
Scissors
Adhesive
Embellishments, cardstock to decorate card
1/2" X 10" strip of coordinating printed paper
Put your paper on your scoring board with the 8 1/2" side at the top. Score at 2 1/8" and 6 3/8". Turn the paper so the 11" side lines up with the top. Score at 1 1/4" and 3 3/8". Turn paper around to the other 11" side and repeat.
Pre-fold the long score lines.
Unfold paper. Keep the side you want to be on the outside of the box facing you. Fold the first two score lines on the 8 1/2" side up.
Flip paper over. Fold the second score lines down.
Fold one end up,
then the other.
Take the outer corner of the just folded side and fold it diagonally. Be careful to not rip the paper on top.
Repeat on the other corners.
Unfold everything.
Adhere a decorative strip to the long un-scored sides. I used cream colored cardstock and punched the edge with a Martha Stewart edge punch. You could add lace or trim of some kind if you like.
Cut the rectangle diagonally from the long, unscored sides toward the edge, just a slight angle. This will keep parts of the sides from showing after you fold the box.
Take one of the corners next to the decorated side and fold it over to the long side.
Repeat on the other corner of that long side. Fold the long side down.
Repeat on the other side.
Fold sides down carefully.
You don't have to, but I added a band around the card to keep it together. You can leave it as is if you like. I made the 1 1/2" wide X 10", wrapped it around the card leaving it loose so you can slide it off easily.
I used the Imagine More Cards Cartridge to make the embellishment for the band. I cut out an extra rose and added it to a card for the interior of the box. This box card would be good for giving a gift card too.
Challenges for this card:
Cricut Circle Weekly Challenge - Feeling Gifty
4 Crafty Chicks - Color Combo*
Freshly Brewed - #68 fancy folds
Scrapbook Sisters - Anything Goes
Whimsy Inspires - Punches/diecuts
Anything Goes Challenge -Diecuts/Punches or Both 2nd Week
Paper Take Weekly - Get In Shape (use three different shapes base card can be one)
Top Tip Tuesday - 3E -Use Design Papers
Thank you for joining us today. If you try this card, be sure to let us know. I would love to see it. Send me a picture. If you all like I will get one of those linky tools and add it here so you can post them. Just let me know. We love your comments. God Bless You!!!! Peggy